

Here's a quick and easy DIY project that can add some colorful vintage vibe to a tablescape. If you don't happen to have any vintage hankies on hand, you can find them available for purchase online or at a local antique shop. I collected mine over the years at estate sales and garage sales.
To make your own vintage handkerchief vases, you'll need the following items:
1. Vintage hankies in matching, contrasting, or coordinating colors.

2. Small empty bottles. Bottles from supplements, vitamins, and over-the-counter medications work well. The bottles I used ranged in height from 3 1/2 inches to 4 1/2 inches. It adds more interest to your tablescape if the bottles are different heights.

3. Rubber bands, one for each bottle.

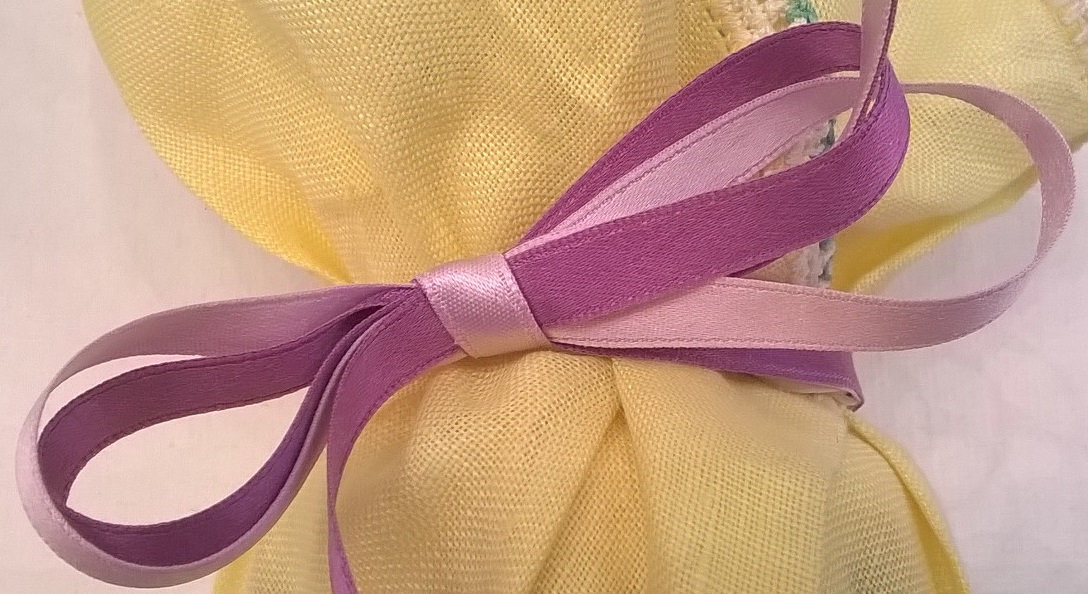
4. Ribbons in matching, coordinating, or contrasting colors. I used double-faced silk satin ribbons that are one-quarter inch wide, but any type of narrow ribbon will work just fine.

The first step is to remove the lids. I usually save them because they come in handy when I draw circle templates for the centers of fabric flowers.


Now, finish the vase by tying two ribbons around the rubber band and making a bow.
Now your first bottle is complete. Make as many as you like for your tablescape. It's usually a good idea to use an odd number of items in a tablescape.

Fill your hanky vases carefully with a small amount of water if you're going to display fresh flowers. Otherwise, display dried or silk flowers. I used the only flowers that were in bloom in my backyard for this tablescape--orange lilies and a small purple flower.

Enjoy your tablescape!


